
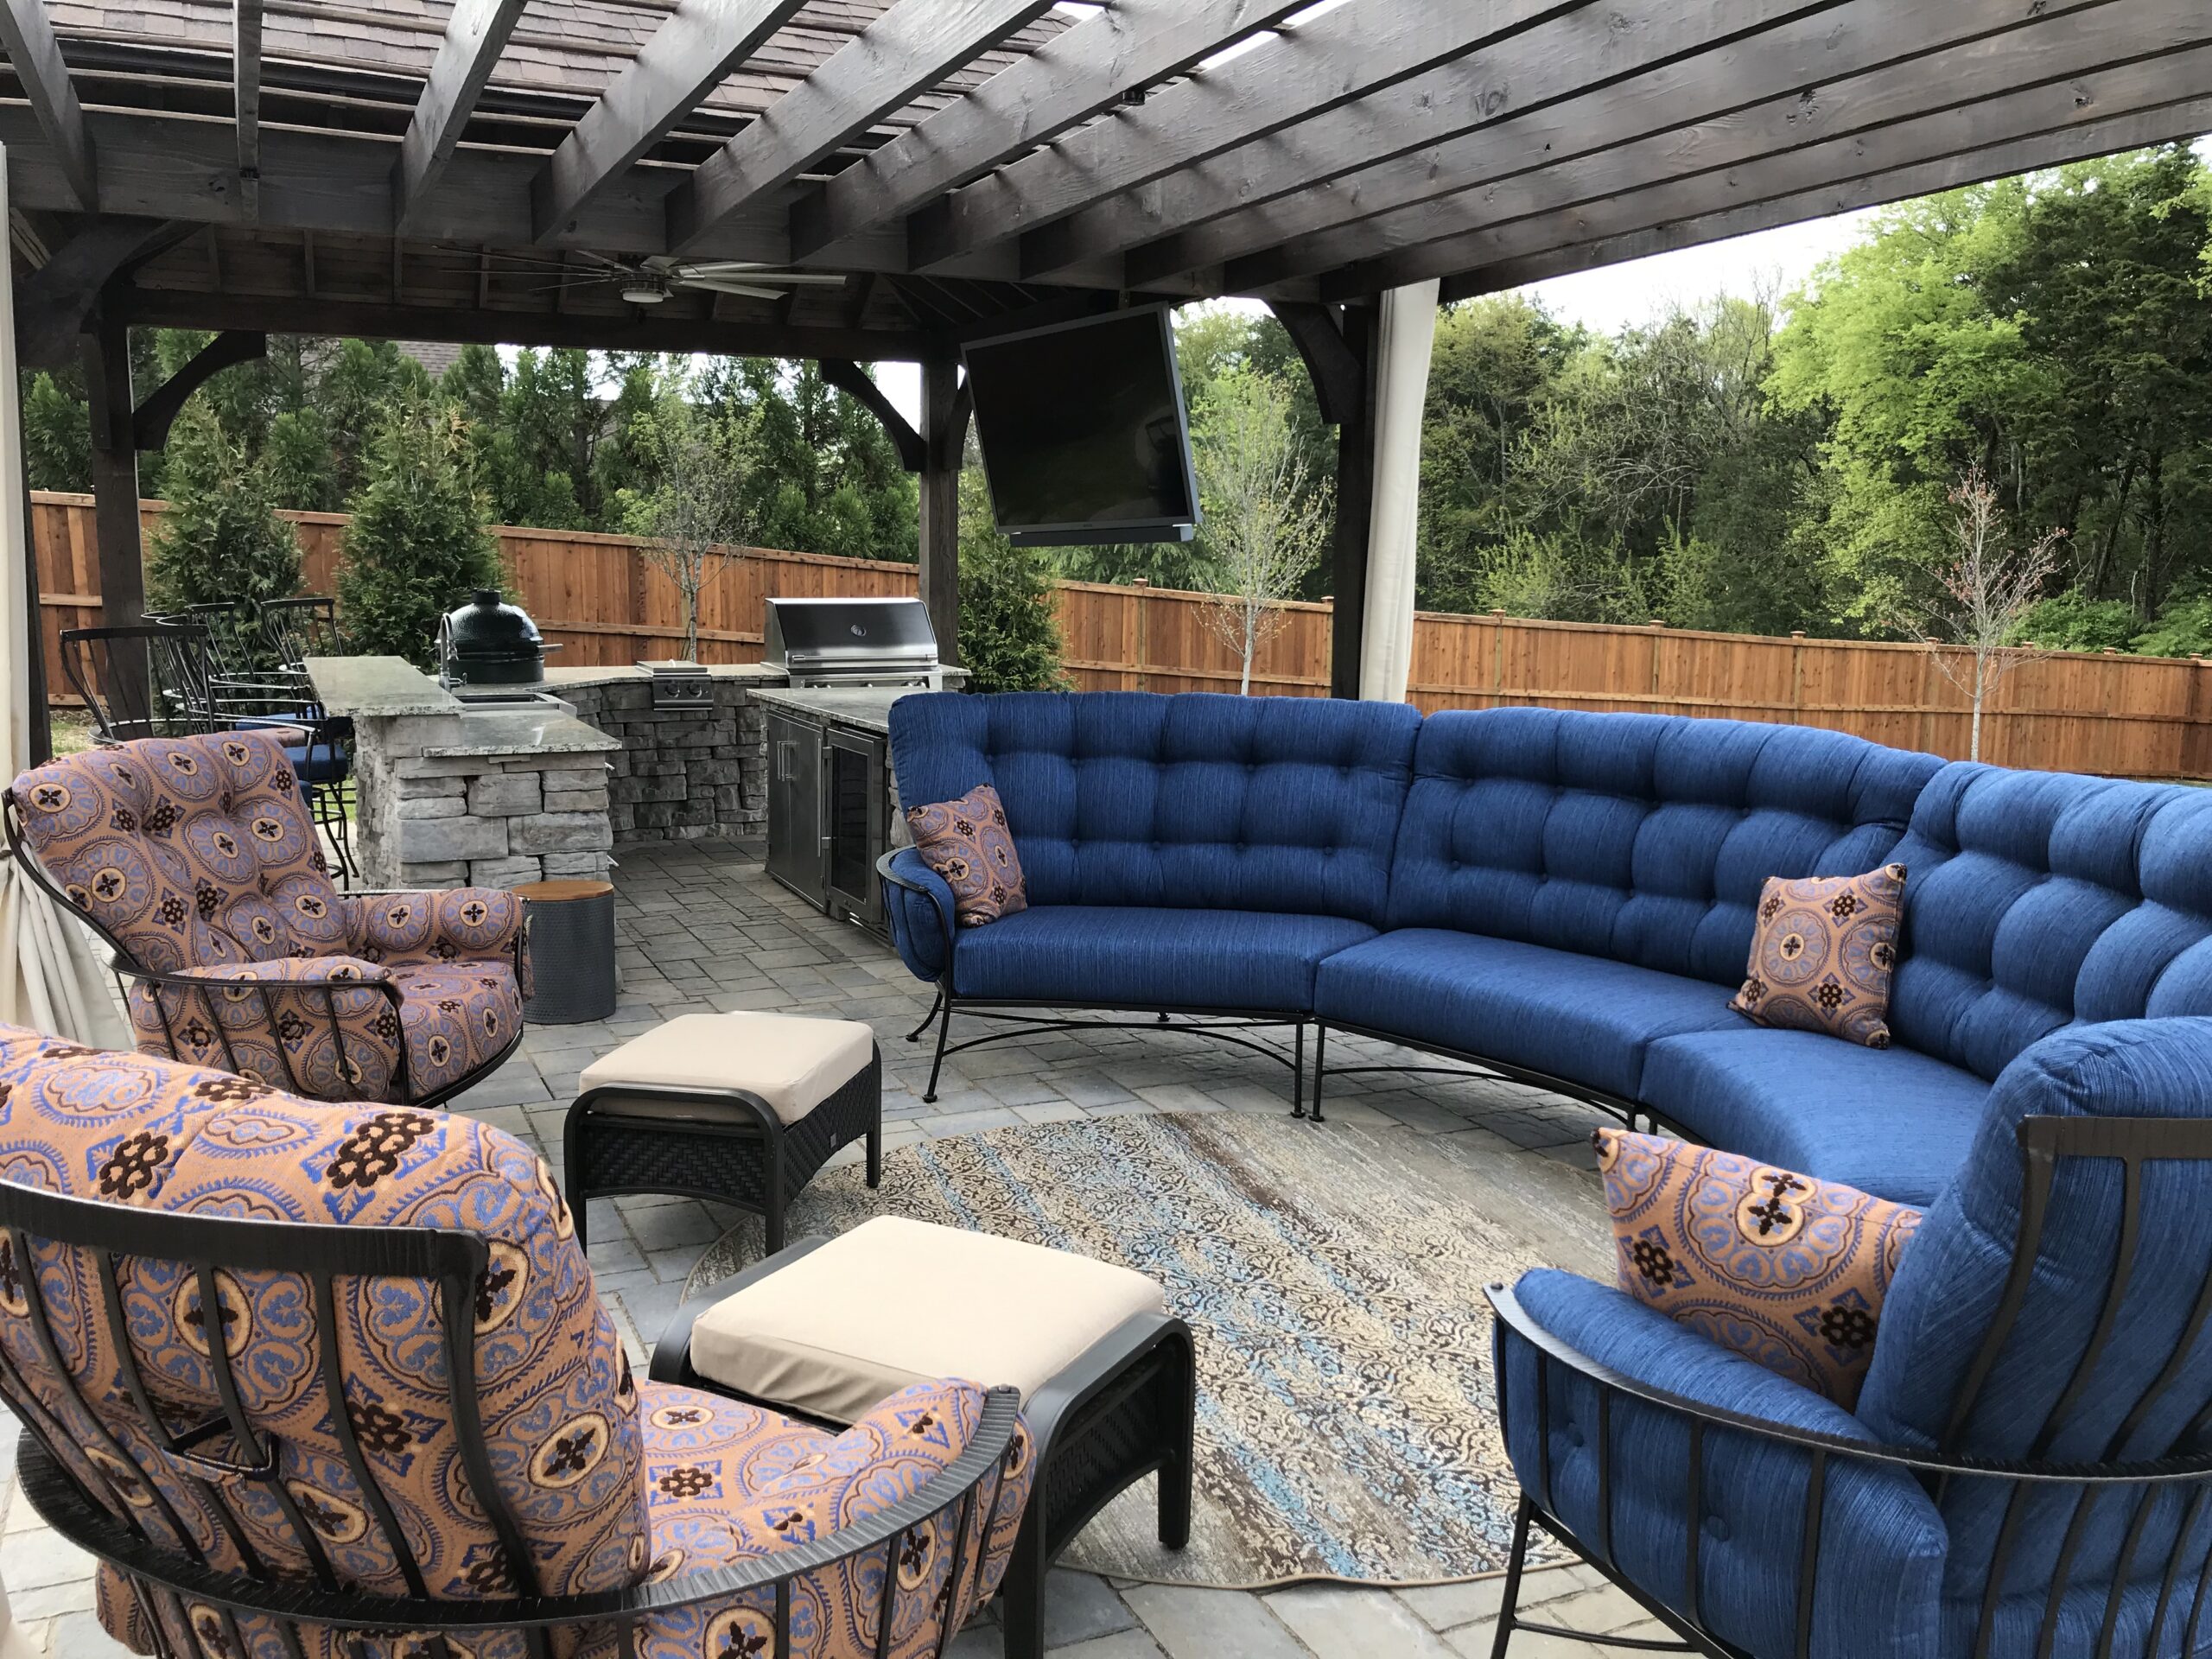
Middle Tennessee summers are notoriously sweltering, often forcing homeowners indoors and leaving backyards underused during the hottest months of the year. While a comprehensive outdoor living space—combining shade structures, proper ventilation, and hardscaping—allows you to comfortably use your full property, integrating a functional outdoor kitchen design into that footprint requires careful coordination. Most homeowners arrive at the planning stage with a disorganized wish list of outdoor kitchen design ideas or screenshots of covered structures, but no clear picture of what their specific site allows, what a realistic budget looks like in the Nashville market, or how long a well-run project actually takes.
Working out of order inevitably leads to expensive field corrections, poor drainage, and structures that fail to withstand the local climate. Executing a successful outdoor kitchen design within a broader landscape blueprint comes down to six critical decisions made in the right order. This guide covers each phase the way a seasoned practitioner approaches a build—from initial site assessment to material selection and project scheduling. This process ensures you design a custom outdoor kitchen that suits the Middle Tennessee climate and performs reliably for decades.
Step 1 — Start With Your Site, Not Your Wish List
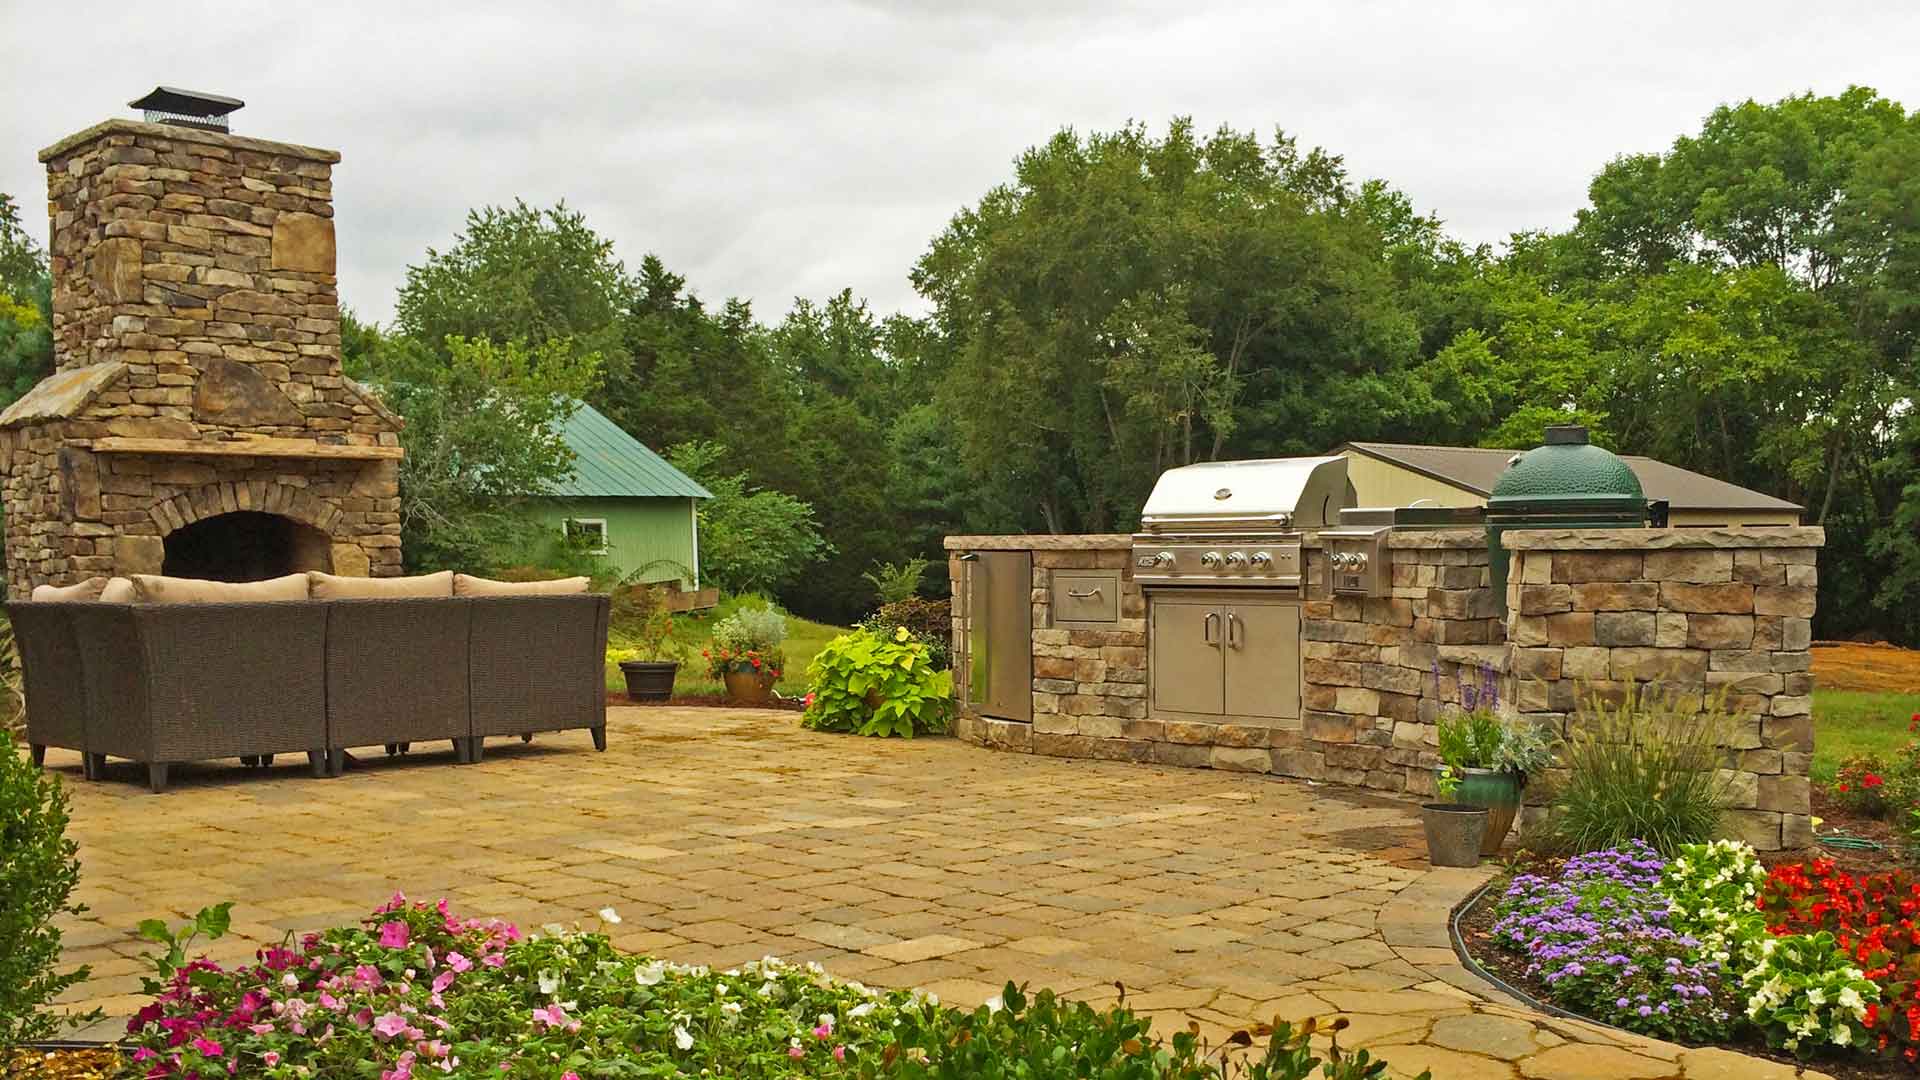
The most common mistake homeowners make is choosing appliances before reading the constraints of their property. Every successful project must begin with a thorough site walk—the land must determine the layout, orientation, and structure type, never the other way around.
In Middle Tennessee, four foundational site factors dictate your outdoor kitchen design long before block is laid:
-
Utility Access: Natural gas serves most of the core Nashville metro, but propane is standard in Lebanon, La Vergne, and rural Wilson County. Extending these lines requires strategic placement.
-
Electrical Capacity: Dedicated circuits are required for outdoor refrigeration and lighting. Your designer must verify if your main panel can handle the load or if a subpanel is necessary.
-
Clay-Heavy Soil & Drainage: Local clay soil creates severe runoff challenges. Patio and island placement cannot block existing drainage paths; they must be engineered to redirect water.
-
Sun Exposure: Layouts must account for the harsh southwest sun angles characteristic of Middle Tennessee summers. Proper orientation ensures cooking surfaces aren’t blindingly hot during afternoon use.
Integrating these technical components seamlessly requires looking at the backyard as a whole rather than a piecemeal project. For a kitchen to remain functional in this regional climate, it should be designed as a coordinated element within a comprehensive, master-planned outdoor living space.
Brentwood and Franklin property note: In both of these communities, steep-grade lots are incredibly common. A significant slope is not a constraint—it is a design opportunity. Terraced layouts with integrated retaining walls produce far more architectural results than a flat site allows. For properties with a steep grade, our retaining and seating wall design service can be scoped directly into the primary build blueprint, serving as both structural support and built-in seating.
Step 2 — Define How You Actually Use Your Outdoor Space
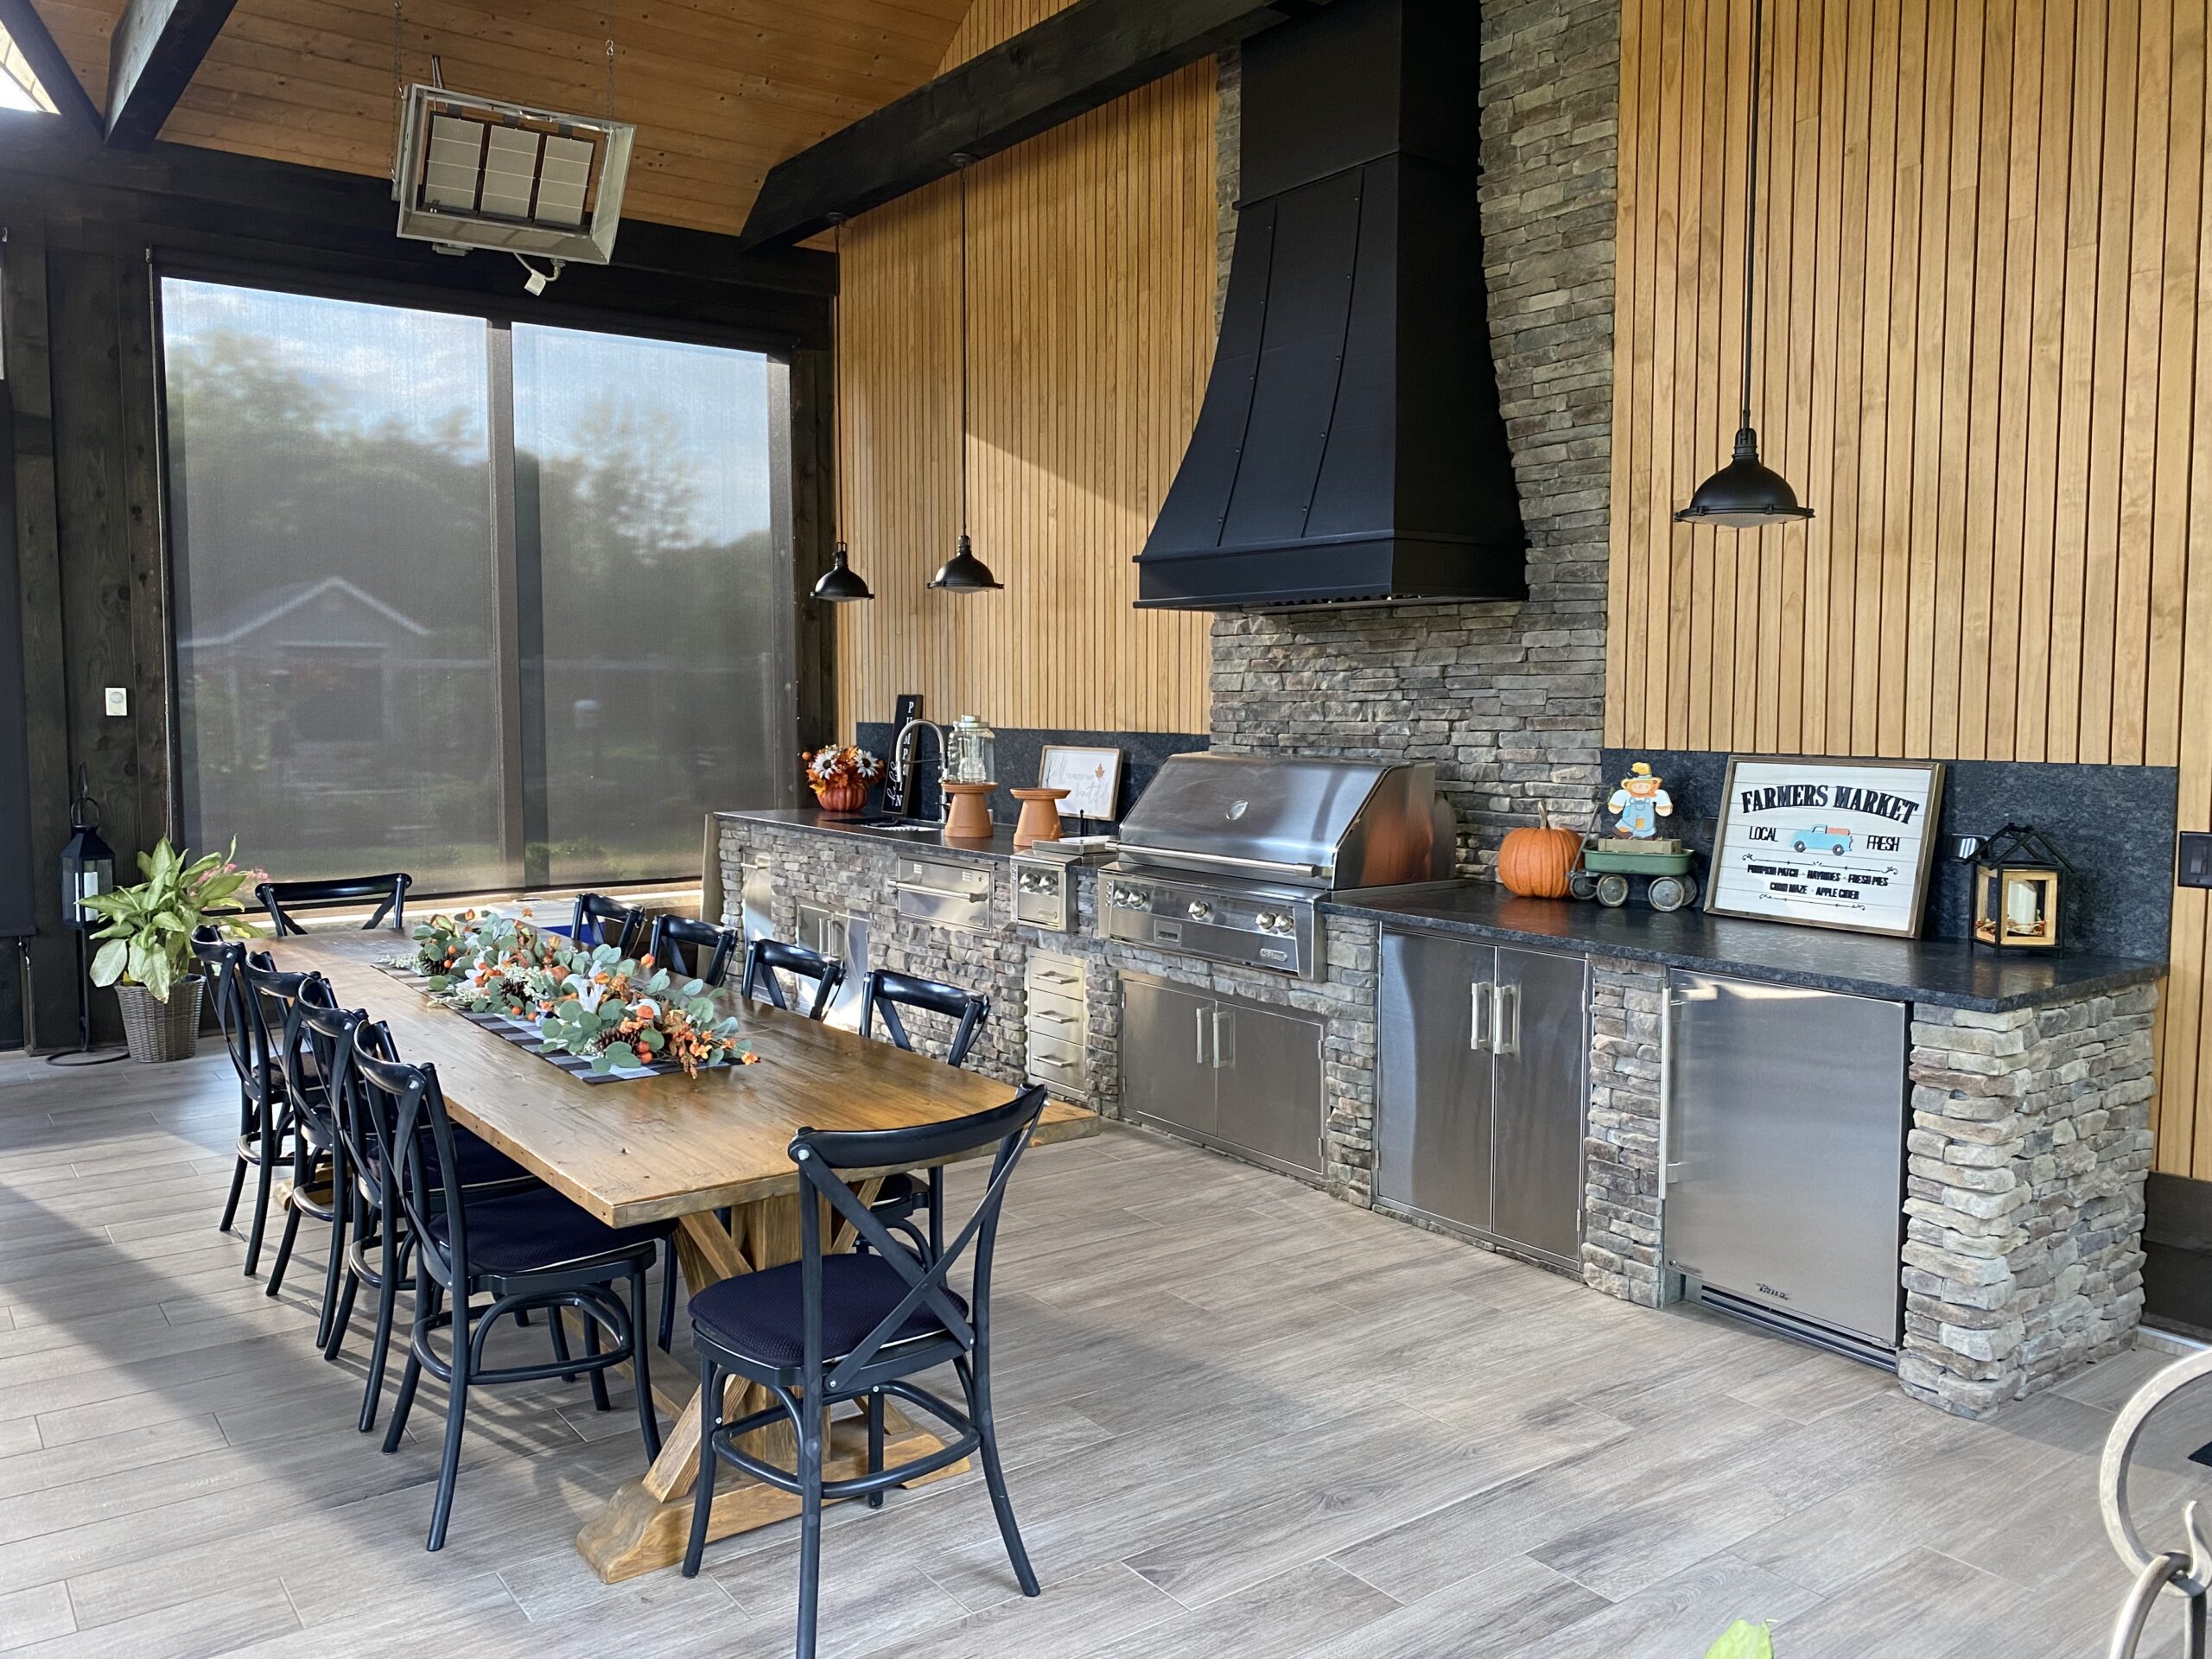
In Middle Tennessee, outdoor kitchen designs generally fall into two categories depending on how a household plans to use the space, and they require completely different layouts:
-
The Family Daily-Use Kitchen: Built for cooking three to four times per week from spring through late fall. The focus here is a smooth, simple workflow between the grill, fridge, and trash. This setup usually fits comfortably into 10 to 16 feet of total countertop space underneath a covered roof.
-
The Entertaining Hub: Designed for hosting groups of 15 to 40 guests several times a season. This requires a much wider footprint, multiple cooking surfaces, and bar seating placed safely away from the hot cooking area so guests can socialize without getting in the chef’s way.
To help an outdoor kitchen designer map out a layout that works for you, it helps to answer these practical questions before you start:
- How many people will you typically cook for on a regular basis versus when hosting?
- Should the cooking area operate independently, or do you expect frequent trips to the indoor kitchen?
- Are children or pets using the adjacent backyard spaces daily?
Understanding your actual household habits at the very beginning ensures your layout fits your lifestyle and your budget stays on track.
Step 3 — Understand Your Budget Before You Choose Materials

Choosing your stone, finishes, and appliances before establishing a clear budget is a recipe for wasting months on a design that doesn’t fit the realistic scope of your project. To get the exact look and functionality you want, the budget needs to guide the material choices from the beginning—never the other way around. And yet, honest answers about what these spaces actually cost can be hard to find
In the Nashville area, a custom outdoor kitchen generally costs between $75,000 and $200,000+. Most custom masonry builds fall into two main price brackets:
-
Custom Masonry Kitchen with Cover ($75,000 – $90,000): Includes a stone masonry island, built-in premium grill, side burner, outdoor fridge, and a basic overhead roof.
-
Full Outdoor Living Space ($100,000 – $200,000+): Expands into a large architectural pavilion, full appliance suite, fire features, and built-in stone seating walls.
(Please note: These price ranges reflect 2026 labor and material rates and assume professional design and build execution.)
Five main factors drive these costs:
-
Structural Materials: Stone masonry islands versus more vulnerable wood-frame setups.
-
Appliance Grade: Standard outdoor equipment versus luxury cooking brands.
-
Countertop Choices: Basic outdoor counter materials versus premium natural stone or custom slabs.
-
Covered Structure Type: Simple overhead shade structures versus complex, engineered pavilion roofs.
-
Site Complexity: Flat, accessible lots versus steep backyard grade changes that require retaining walls and advanced drainage.
At Master’s, we intentionally build a frank budget alignment conversation into the very start of our process before any design work begins. This is not a sales pitch—it is a professional practice that ensures we are designing a space that matches your goals and respects your time from day one.
Step 4 — Work Through a 3D Design Before You Commit to Build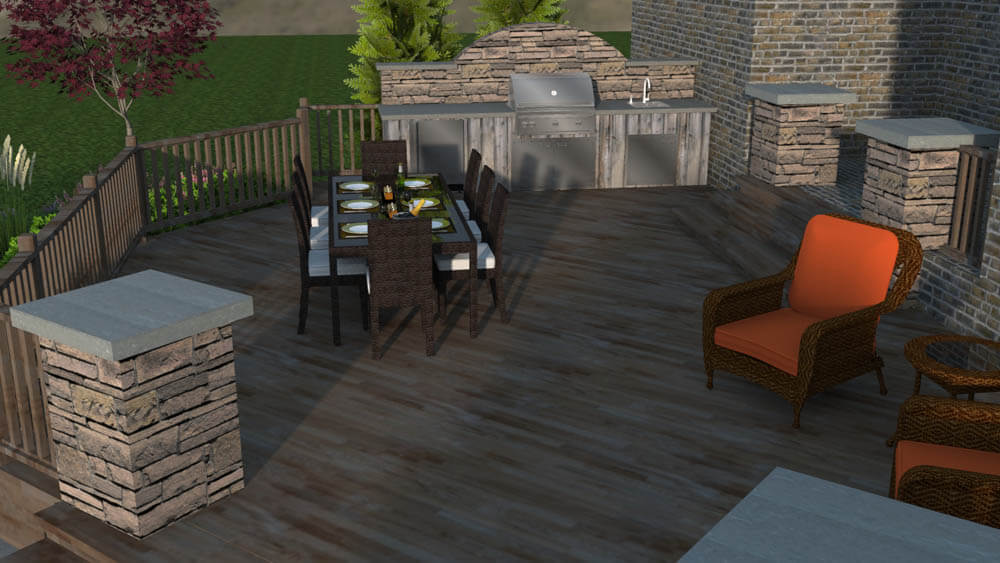
A saved Pinterest board is a great tool for gathering style inspiration, but it cannot show how those ideas translate to a unique backyard footprint. Similarly, a verbal or written conversation is great for developing a project outline and budget, but it cannot confirm exact physical dimensions or structural fit. Working through a professional 3D layout process bridges this gap, giving you a realistic preview of your finished outdoor kitchen design before construction ever begins. This spatial accuracy also ensures critical layout errors are caught early, protecting both your budget and your peace of mind.
At Master’s, the design consultation process runs through this structured sequence:
-
Site Visit & Measurement: Mapping out the property’s physical terrain, utilities, and boundaries.
-
Program Brief: Outlining specific workflow needs, appliance lists, and entertaining goals.
-
Concept Drawing: Creating initial layout sketches to establish the basic shape of the space.
-
3D Rendering: Generating detailed visual models to show exact material selections and spatial scale.
-
Revision Cycle: Fine-tuning the details based on direct client feedback.
-
Master Plan Finalization: Locking in the final blueprints for the build crew.
Investing time in a specialized 3D design and renderings phase prevents the most common and expensive outdoor kitchen design mistakes. For example, this step ensures a project does not end up with an undersized countertop that leaves no room for food prep, or a misplaced grill that points into the prevailing wind—blowing smoke directly toward the guest seating area.
Most importantly, a realistic 3D layout reveals safety and compliance issues before materials are ordered. Built-in appliances have strict building code clearance requirements when placed near combustible materials like vinyl siding or wood framing. Because a 3D rendering is built to an exact mathematical scale, these physical distances can be verified and confirmed with a contractor long before construction starts.
Step 5 — Select Materials for Nashville’s Climate, Not a Showroom
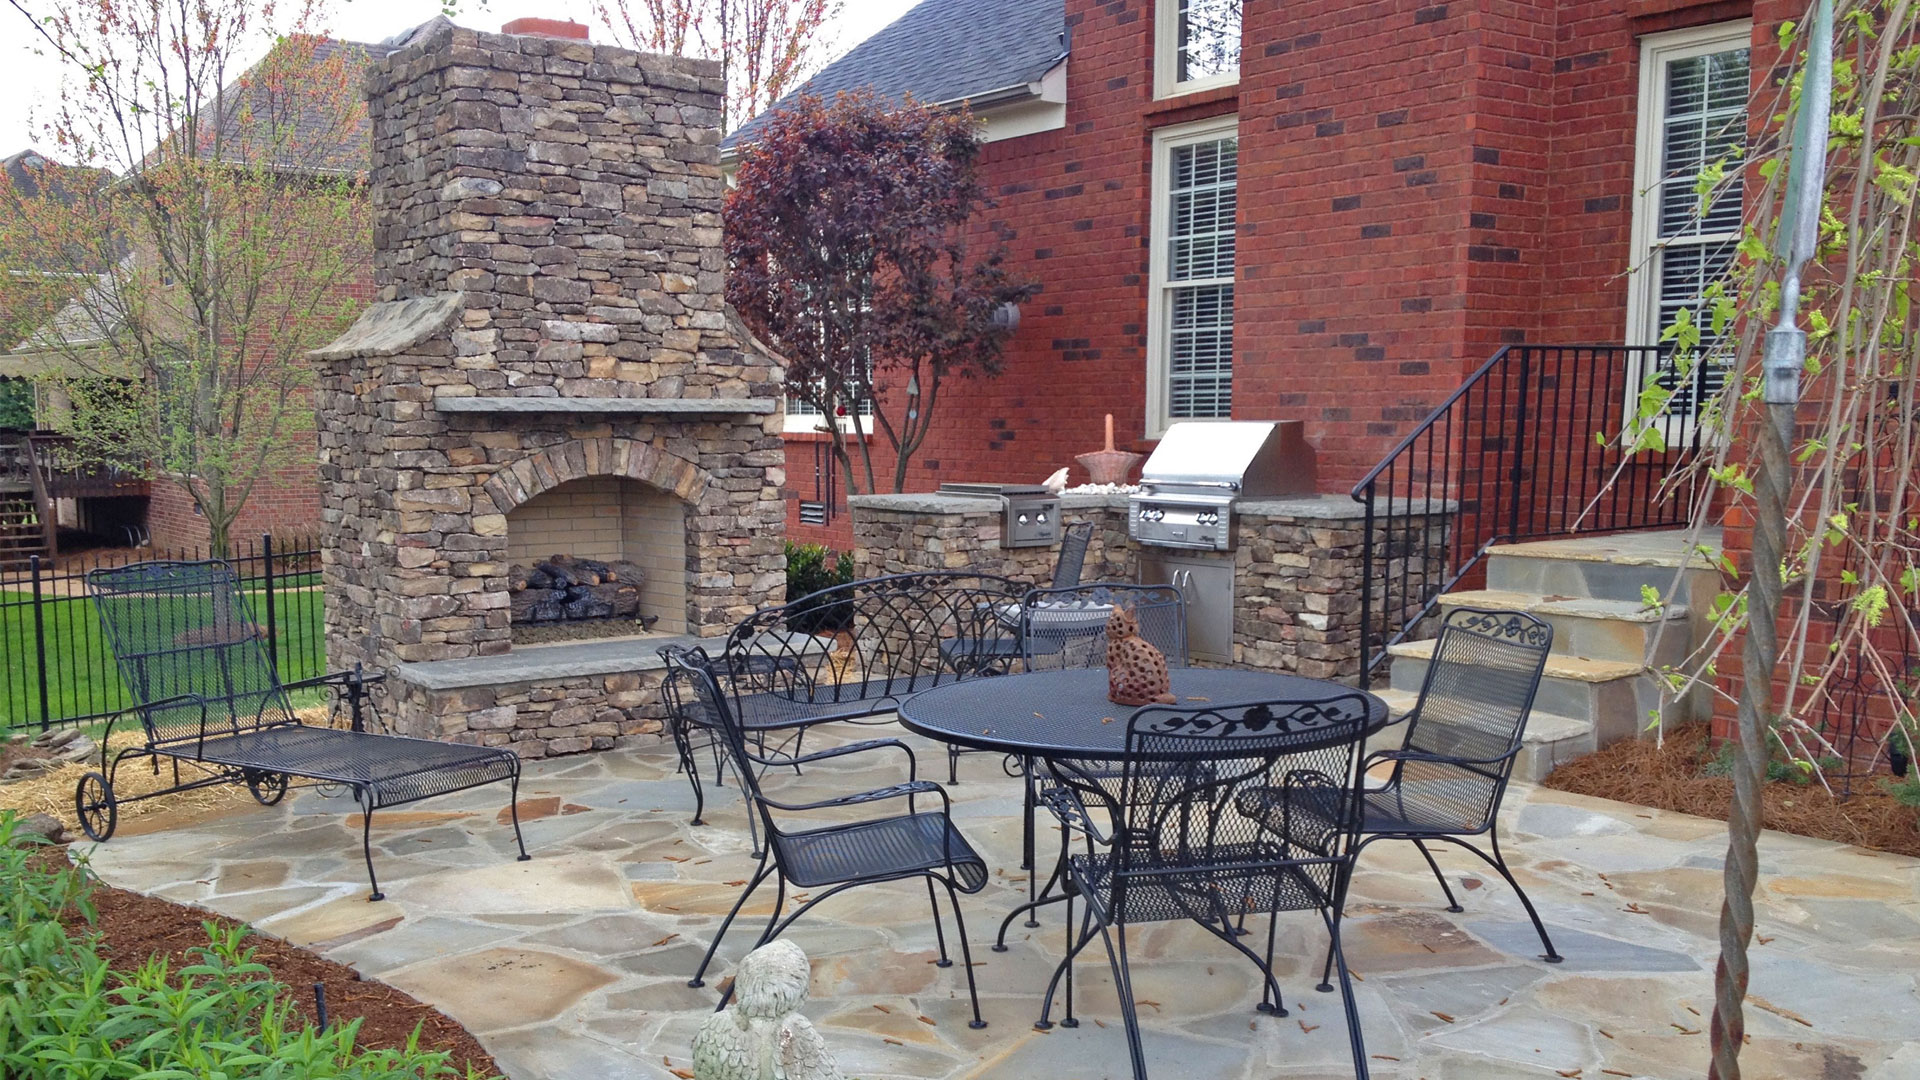
According to local weather data from NOAA, Middle Tennessee averages nearly 50 inches of annual rainfall alongside severe winter freeze-thaw cycles and high summer humidity. Showroom selections made without accounting for these specific regional forces often produce expensive structural failures within five years. To ensure maximum longevity, outdoor material choices must be selected based on climate performance rather than indoor aesthetics.
Four primary material selections dictate the lifespan of a custom build:
-
Countertop Surfaces: Choose premium natural stone (like granite or quartzite) or durable porcelain. Avoid unsealed concrete and standard quartz, which rapidly degrade and discolor under intense southern UV exposure.
-
Island Substructures: Choose solid masonry block. Avoid wood stud-frames, which trap moisture, warp, and rot in high regional humidity over time.
-
Patio Flooring: Choose thick porcelain pavers or natural flagstone with wide expansion joints. Avoid standard indoor-grade ceramic tile, which absorbs moisture and cracks during winter freezes.
-
Covered Framing: Choose premium cedar or engineered composites. Avoid basic pressure-treated pine, which constantly twists and warps under heavy regional moisture exposure.
Matching Structures to Your Appliances
Choosing weather-resistant materials is only half the battle; those structural choices must also match the operational demands of the appliances installed inside them. Industry insights from the most recent NKBA Outdoor Kitchen Report emphasize that high-end outdoor equipment requires an equally durable architectural foundation to function correctly over time. For example, if a heavy, commercial-grade grill or outdoor refrigerator is installed into a wooden framework that sags or shifts with the weather, it causes a chain reaction—countertops crack under the movement, and appliance doors become misaligned and lose their weather seals. Ensuring the structure matches the durability of the appliance protects the entire investment.
Step 6 — Plan Your Timeline and Phasing
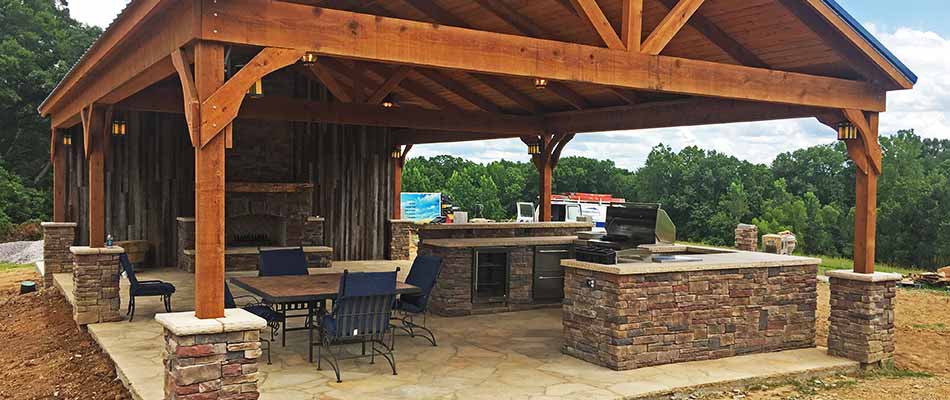
A custom outdoor kitchen design-build in the Nashville area requires careful coordination across regional permitting and weather windows. The process generally spans a six-to-twelve-week schedule, driven by three core factors:
-
Permitting Rules: Structural building permits are mandatory across Davidson, Williamson, Wilson, Rutherford, and Sumner counties for covered pavilions, gas lines, and electrical additions. Documentation requirements, current fee schedules, and inspection steps can be verified directly through the Metro Nashville ePermits Portal or the Wilson County Building Codes Division. Exact timelines should always be confirmed with the contractor before setting a start date.
-
The Seasonal Window: Late fall and winter (October–February) offer the highest contractor availability and excellent ground conditions for initial structural prep. Spring schedules fill up quickly across Middle Tennessee.
-
The Design Lead Time: Moving a project into the design phase in January makes a completion date before Memorial Day highly achievable. Waiting until March to begin design pushes completion well past the start of summer. Planning ahead during the colder months ensures a seamless transition into construction, which is why winter is the right time to design a Tennessee landscape.
A successful build moves systematically through eight distinct phases:
-
Discovery & Site Engineering: Verifying yard grades, setbacks, and existing utilities.
-
Design & 3D Modeling: Finalizing the spatial layout, appliances, and materials.
-
Permitting & Procurement: Securing local approvals and ordering equipment.
-
Excavation & Utility Trenching: Digging foundations and running underground utility lines.
-
Structural Foundations: Pouring concrete footings and building the island framework.
-
Patios & Finishes: Laying patio flooring and applying exterior stone or brick.
-
Appliance Integration: Installing countertops, grills, and completing utility hookups.
-
Softscape & Lighting: Adding accent lights and surrounding landscape plantings.
The Value of a Good Plan

When it comes to building an outdoor kitchen, getting the sequence right is everything. By mapping out your site conditions, entertainment needs, budget, layout visuals, materials, and timeline in the correct order, you naturally protect your investment. Taking shortcuts through these steps rarely saves time; instead, it almost always leads to unexpected mid-project changes and budget surprises.
Managing all of these details can easily feel overwhelming, which is why having a single partner to guide you through it makes such a difference. Master’s Landscape Design operates as a full-service design-build company, managing every stage of your project completely in-house. From your initial on-site engineering check all the way through to final construction, you work with one dedicated team. This eliminates the hassle of coordinating multiple subcontractors, ensuring clear communication and total accountability from start to finish.
We proudly design and build custom outdoor living spaces across Nashville, Mt. Juliet, Brentwood, Franklin, Hendersonville, Lebanon, and Greater Middle Tennessee. To discuss your backyard layout or to schedule an on-site visit with our team, call (615) 675-6795 or Request a Consultation.
Summary:
This guide walks Middle Tennessee homeowners through the complete outdoor kitchen design process in six practical steps—from site assessment and budget planning to material selection and build timeline. Honest cost ranges for the Nashville area are provided alongside material guidance tailored to Middle Tennessee’s climate. Every step reflects how a local design-build firm with 20 years of experience actually approaches a project, not how a generic home improvement website describes one. Following these steps ensures your project stays on track and delivers a space built to last for decades.